First off, you'll need to buy a few things: a color card and some lightbulbs. For the color card, I use a ColorChecker Passport from X-rite. You'll also want to get two lightbulbs, one at 2850K color and the other at 6500K. The 2850K is easier to find and I found one at a local hardware store (about $5 for a pack of 4.) You can do the calibration with just one lightbulb if that's all you can find. For this article, I only found a 2850K. The bluest I could find was 5000K.
Next, take a camera raw photo of the color checker with a single lightbulb (it's important that you shoot this photo in raw mode, not JPG.) Do this for each of the light bulbs, or just one if that's all you have. Now import these photos into Lightroom and export them as DNG files (Adobe's raw format.)
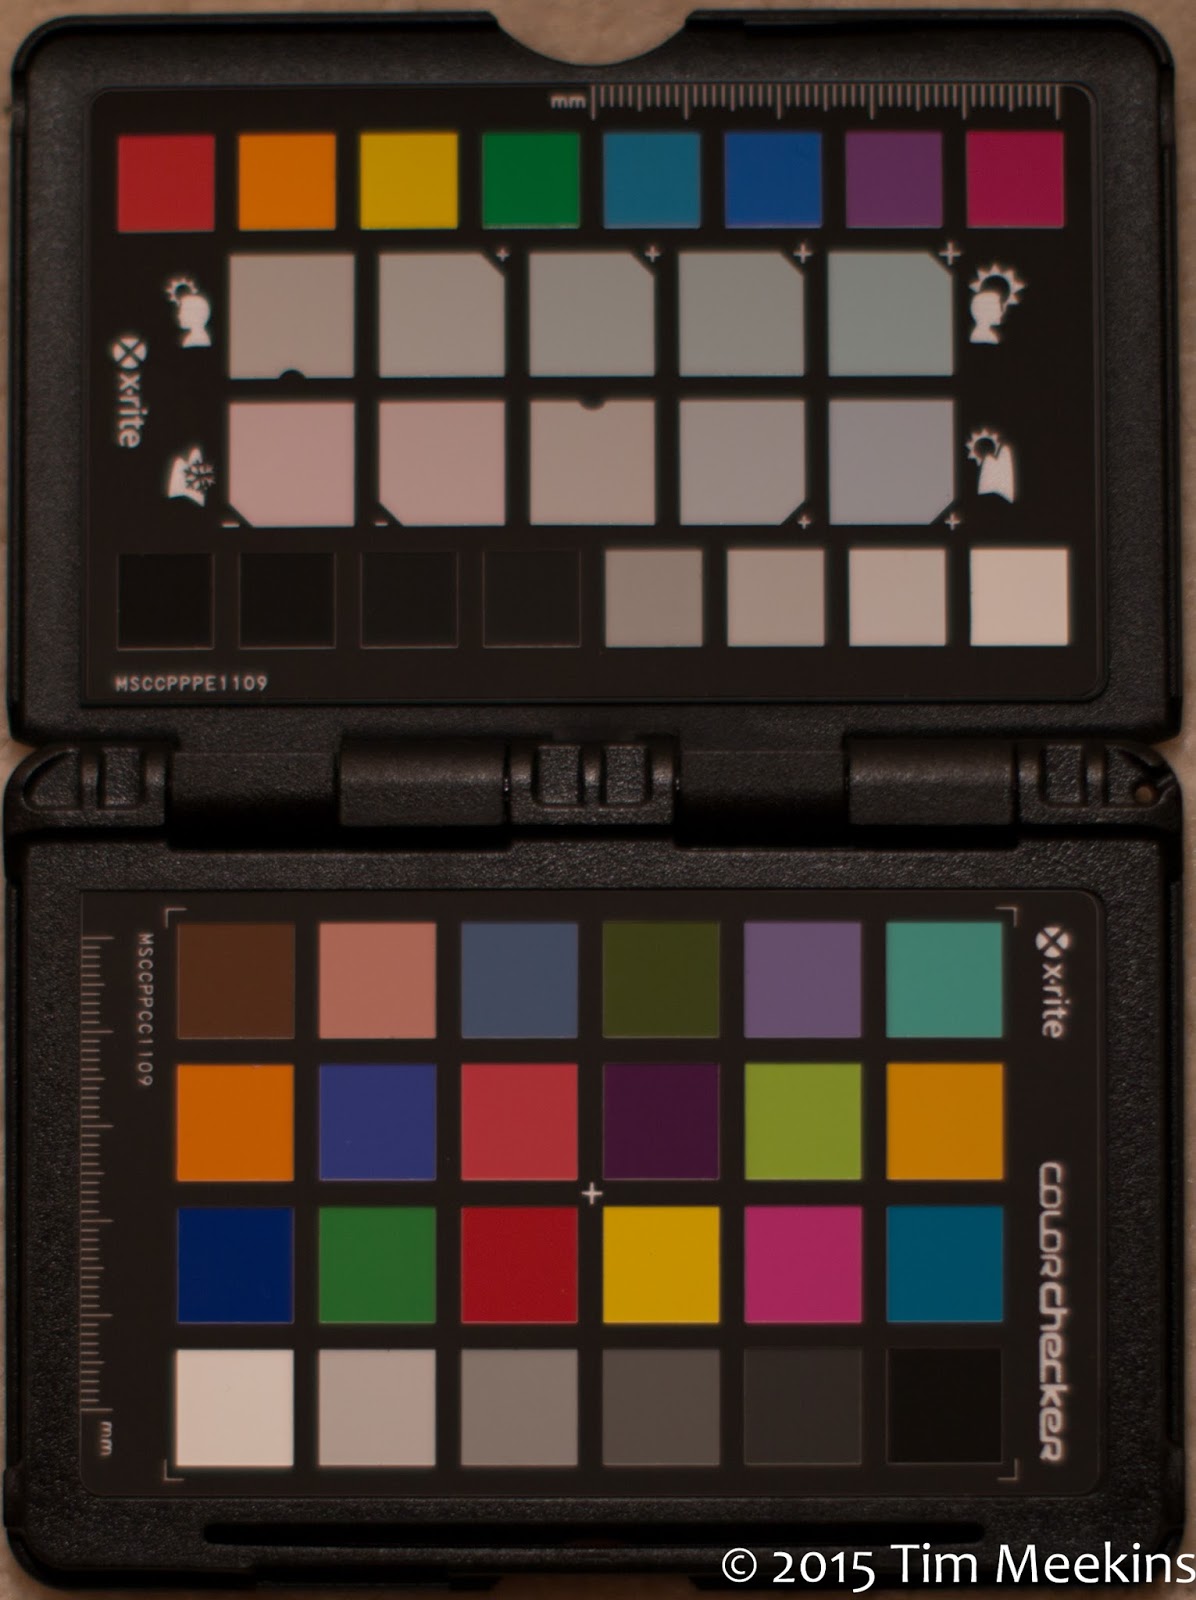 |
| Unprocessed photo under 2850K light bulb. |
You now need to download the calibration software from Adobe's website: DNG Profile Editor
After downloading, run the editor and load your photos. Each photo will have four colored circles on the image. Drag these colored circles to the matching four corners of your color card. On Chart tab, select the color of the lightbulb for the image (2850K) then click the "Create Color Table..." button. You can repeat the above for a 6500K image if you have one.
Your image of the color chart should now be displayed with proper white balance and you now have a calibration for your camera. The DNG file already knows what camera took the picture, so the calibration you created will only show up in Lightroom when editing photos taken on that same camera.
Now, jump to the Options tab and type in a Profile Name. For my example, I used "Tim's 5D3." And finally, go to the "File..." menu and choose "Export <camera> Profile..." This will write the calibration file to a location that Lightroom can find.
Now run Lightroom again (if it's already open, close and re-run it to make sure it loads the calibration file.) Choose a file without any edits such as the color card photo you just took. Go to the Camera Calibration section, and change the profile to the one you just made. It probably says "Adobe Standard". When I click on it, I also see Adobe's defaults for my Canon, and at the bottom "Tim's 5D3".
After selecting your profile, go to the Develop menu and select "Set Default Settings..." When the dialog appears, you want to click the button labeled "Update to Current Settings." This is now the new default when you import a photo taken on this camera. Any other changes you made to this image will also be the new defaults, so make sure you reset all your edits before setting the new profile and updating the settings. While I was here, I also went ahead and enabled lens correction in my defaults.
Below are two images with the Adobe Standard profile and the profile I just created. The Adobe Standard image has a slight green tint and the image from my camera's profile looks more natural and more closely represents what I saw when taking the photo.
 |
| Adobe Standard |
 |
| Tim's 5D3 Profile |
Update!
It turns that finding a 6500K lightbulb isn't that hard after all, especially if you search for 6500K instead of 6400K. Whoops. So my new lightbulb just arrived, and this time I was able to create a calibration for both 2850K light and 6500K and now my calibration looks very close to the Adobe Standard. Interesting. I did kind of like the cooler look I got when only calibrating to 2850k. When toggling between the newest calibration and Adobe Standard, there is still a small differnce, but nowhere like I showed. I still think it's important to do this for each camera you own. Soon I will calibrate several of my other cameras as well and see what the difference is.
No comments:
Post a Comment